This usually happens if some update has not been installed properly, and your Windows operating system is unable to detect the installed or partially installed update. In this scenario, it feels that your system requires the update and so keeps installing it over and over again.
Windows 11/10 keeps installing the same update
1] Uninstall the Update and then install it again
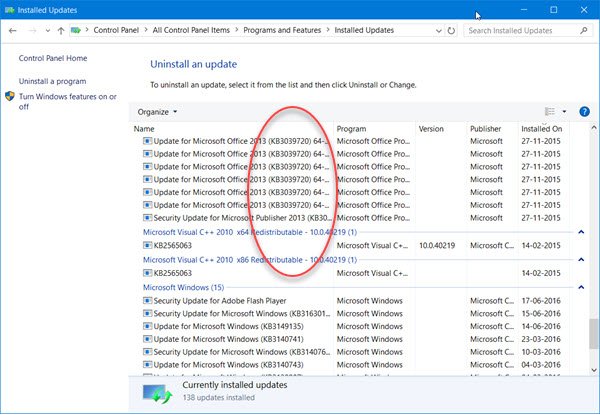
The first thing you should do is try to note down the number of the update that keeps installing. It will be something like KB1234567. Now right-click on the Start to open the WinX Menu. Select Control Panel, and then open the Programs & Features applet. Here click on Installed Updates to see the Windows Update history.
Now search for the Update by number, right-click on it select Uninstall. It may or may not show a Failed status. Now restart your computer run Windows Update and install it afresh. See if it helps.
2] Run Windows Updates Troubleshooter
You might also want to run Windows Updates Troubleshooter and see if it helps you.
3] Clear SoftwareDistribution folder
If none of this helps, deleting the contents of the SoftwareDistribution folder is likely to help you. The Software Distribution folder in Windows operating system is a folder located in the Windows directory and used to temporarily store files which may be required to install Windows Update on your computer. This post will show you how to delete the contents of the Software Distribution folder. Flushing this folder has been known to help fix several issues like Windows Update fail to install, Windows Update not working, Failure configuring Windows updates, Windows Update stuck downloading updates, We couldn’t complete the updates, and so on. See this post if Driver update keeps being offered by Windows Update. This data store also contains your Windows Update History files. If you delete them you will lose your Update history. Moreover, the next time you run Windows Update, it will result in a longer detection time.
4] Reset the Catroot folder
Reset the Catroot folder and see. To reset the catroot2 folder do this: Open an elevated Command Prompt, type the following command one after the other and hit Enter: Next, delete all the contents of the catroot2 folder. Having done this, in the CMD windows, type the following and hit Enter: Your catroot folder will be reset, once you start Windows Update again.
5] Clear pending.xml file
Open an elevated command prompt window, type the following and hit Enter: This will rename pending.xml file to pending.old. Now try again.
6] Clear the BITS queue
Clear the BITS queue of any current jobs. To do this, type the following in an elevated CMD and hit Enter: Now restart your computer and run Windows Update and install the available updates. Let us know if any of these suggestions helped you.